
What to Do When You Find a Roof Leak: An Emergency Checklist
There’s a specific kind of panic that comes with water actively coming through your ceiling. It’s happening right now, it’s spreading while you’re standing there deciding what to do, and most of the advice you’ll find online is either too vague to actually help or written for a completely different kind of roof.
This checklist is written specifically for flat and low-slope roof leaks, the kind common on Downey’s mid-century garages, additions, and patio covers, and it’s organized in the order you should actually do things. Skip ahead to whatever step matches where you are right now.
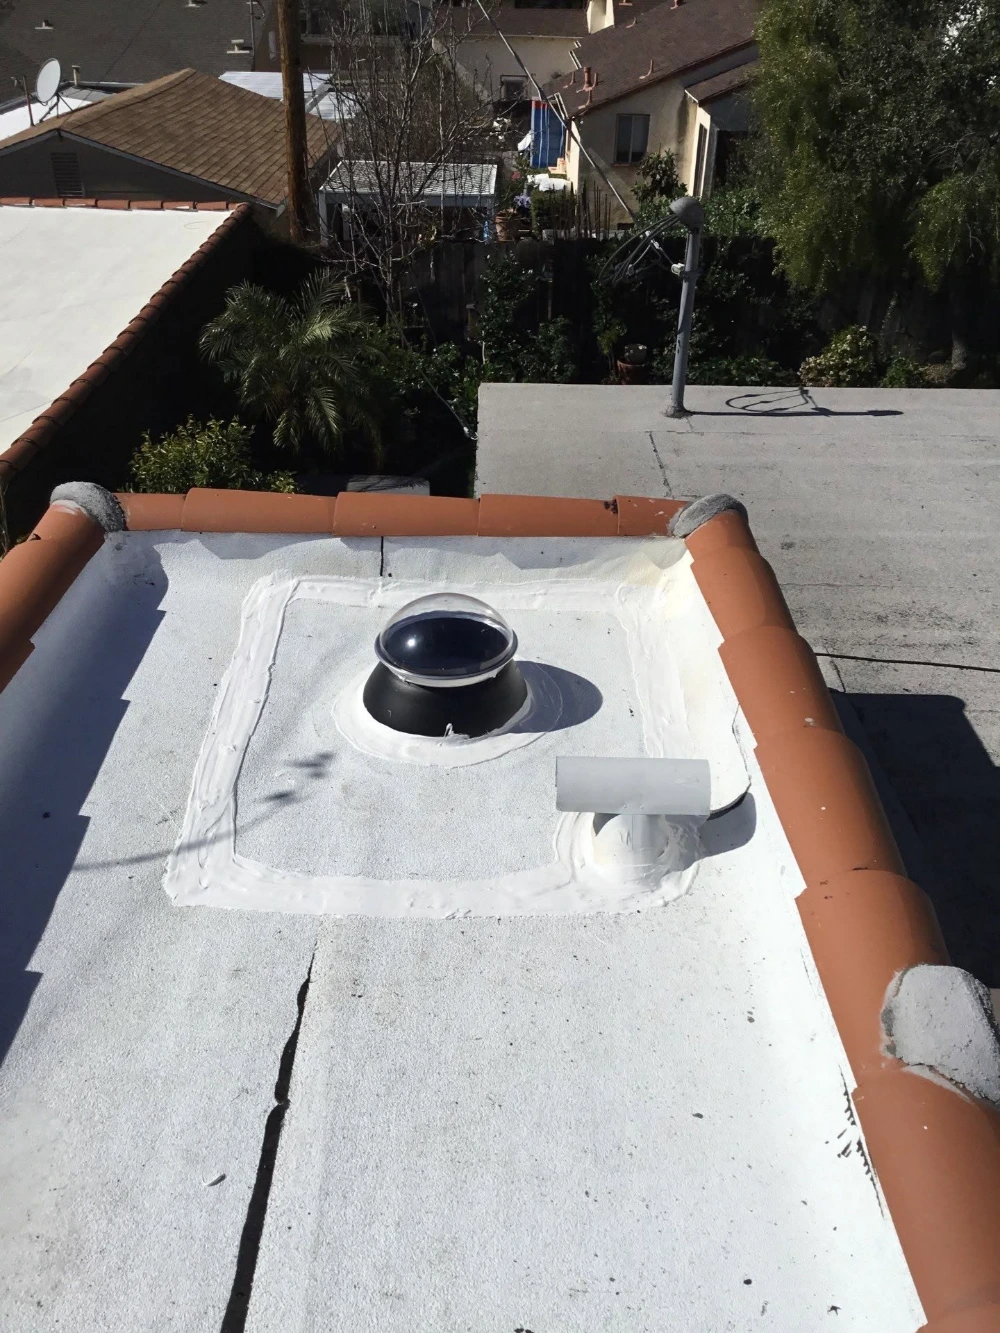
Step 1: Contain the Water Immediately
Before anything else, get a bucket, container, or even a stack of towels under the drip, and move anything valuable out of the way. This sounds obvious, but it’s the step people skip while they’re on the phone trying to find a contractor, and it’s the step that actually limits how much damage you’re dealing with afterward.
If there’s a bulge or sag forming in the ceiling, that’s water pooling above the drywall, and it’s often better to relieve that pressure in a controlled way than let it collapse on its own. Carefully puncturing the center of the bulge with a screwdriver, with a bucket underneath, lets the trapped water out in a way you control rather than a way gravity decides.

Step 2: Cut Power to Anything Near the Leak
If it’s safe to access your breaker panel, cut power to any electrical fixtures or outlets near the active leak. Water and electrical wiring is a genuine safety issue, not just a property one, and this step matters even if the leak seems minor right now.
Do not touch light fixtures, outlets, or switches that are wet or have visible water damage until this is handled. If you’re not confident about which breaker controls that area, it’s safer to shut off power to the whole affected section than to guess.

Step 3: Document the Damage Before You Clean Anything
Take photos of the water, the ceiling, and any affected belongings before you start cleaning up. This takes two minutes and matters significantly if you end up filing an insurance claim later, since documentation from the moment you noticed the leak is far more useful than photos taken after everything’s already dried and moved.
Note the date, roughly what time it started, and what the weather was doing. We cover exactly what helps a claim move smoothly in our guide on how to document a roof leak.
Step 4: Don’t Go on the Roof Yourself
If it’s actively raining or the roof is still wet, this is not the moment to climb up and look for the source. Wet flat roof membrane is dangerously slippery, and even if you found something that looked like the problem, you likely wouldn’t be looking at the actual cause. On a flat roof, water frequently travels 15 to 20 feet sideways under the membrane before it drips through, which means the visible drip point and the real failure are often nowhere near each other.
This is exactly the kind of diagnosis that needs a proper process, not a guess from the ground or a quick look from a ladder. Our guide on how water travels beneath a membrane explains why this matters more on flat roofs than almost any other roof type.

Step 5: Call for Same-Day Emergency Service
Once the immediate situation is contained, call for help rather than waiting to see if it stops on its own. A leak that’s active during one storm is very likely to be active during the next one too, and the damage compounds every time it rains again.
When you call, expect a few quick questions: what you’re seeing, when it started, and whether water is actively flowing or just dripping intermittently. This helps prioritize your call and bring the right materials on the first visit. We cover exactly what to expect from that visit in our emergency inspection guide.
What Happens Once We Arrive
The priority on an emergency call is stopping the active water intrusion, sometimes with a temporary fix if conditions don’t allow a full permanent repair right away. An actively raining roof isn’t safe or effective to fully repair mid-storm, so we’ll be direct with you about whether today’s visit means a permanent fix or a temporary one with a clear follow-up plan.
If you’re dealing with an active leak right now, don’t wait through this whole checklist before calling. Call our emergency line and start containing the water while help is on the way.
Frequently Asked Questions
Is it ever okay to try to patch the leak myself in the moment?
For a genuinely minor, clearly visible surface crack, a temporary patch product can buy time. For anything you can’t clearly identify and safely reach, it’s better to contain the water and wait for a professional than risk a fall or a wrong patch that masks the real problem.
How fast can emergency service actually reach me?
It depends on current call volume and your location, but we prioritize same-day response for active leaks. Call and we’ll give you a specific, honest timeframe.
Will insurance cover this kind of emergency repair?
It depends on the cause. Storm and sudden damage are typically covered; gradual wear usually isn’t. See our guide on insurance coverage for roof leaks for the full breakdown.
What if the leak stops before anyone can come look at it?
Get it inspected anyway. A leak that stopped on its own during one storm will very likely return during the next one, and the underlying cause is still there even without active water at this exact moment.
Dealing With an Active Leak Right Now?
Don’t wait. Call for same-day emergency response.



2 Comments